|
|
Post by boomstick68 on Nov 24, 2013 12:58:54 GMT -6
Hello all, very happy to have found you guys. Have been wanting to build this kit since it's release but I've been too busy with commissions of military ships. Which I am happy to do but I need a change. So, here I am with the TOS but I'm afraid my excitement was extinguished right from the start. I have heard nothing but good things about the quality of the kit but I must have gotten a Wednesday mold. I knew I had some clean up to do from the start by removing sprue attachment points and the HUGE pieces on the upper and lower saucer to be cut out. But then, I get to the nacelles. Totally warped. I have watched many builds of this kit and I have heard no mention of this being common. I don't know if I should contact Round2 and ask for replacements or just use the hot water method to try and reshape them. I've already started investing in aftermarket and I'm not extremely happy there either. I decided to go with Tenacontrols Combo D for this but after getting Ralph's kit and seeing how much work is involved I now wish I had gone with the Polar Lights accessory kit. I could still get the PL lights and save the Tenacontrols for the Refit. Dilemmas right from the start. Not how I like starting a build.  |
|
|
|
Post by Admin on Nov 27, 2013 0:55:52 GMT -6
Wow I have not seen this problem with this kit, I would contact round 2
for some new parts, you have a lot of other thing to work on before you have
to worry about the necells. Also the board you got is for the Enterprise-A.
We sell tenacontrols boards and I would have gotten 1:350 TOS Star Trek Enterprise
Fan Blade and Control Boards Item# TOSKIT-350 and the Star Trek
USS Reliant NCC-1864 Navigation/Strobe Board Item#:1001-R the Polor Lights it
is overpriced for what they give you, we used it on our build but, if I build one for someone I
use the light strip tape off ebay and a few leds. However you should be able to use the board you have just
use the nav lights and the strobes, but to do the bussards your still going to need the TOSKIT_350 from us,
if you want the rotating bussards. I hope I helped you out, if not check out our videos on you tube or on our web site
at starfleetmodelacademy.com
Wally
|
|
|
|
Post by boomstick68 on Nov 27, 2013 19:52:32 GMT -6
Thanks for the info Wally. I'll save this Tenacontrols board/kit for a future product and just get the Polar Lights Accessory Pack for this build, or maybe I could trade you this kit toward the bossards or something. Anyway, onward and upward. I'm addressing the panel lines on the top saucer. I wish I could say "Pain in the ass" in Klingon.  |
|
|
|
Post by Admin on Nov 29, 2013 10:26:24 GMT -6
Yeah! Tom used a few other words when he was filling and sanding all those lines,
but well worth it in the end. Keep the pictures coming so we can post
them on our web site.
Wally
|
|
|
|
Post by boomstick68 on Nov 30, 2013 11:56:06 GMT -6
Will do. I'm waiting on aftermarket stuff and I've sent my form in to get new nacells. Stay tuned.
|
|
|
|
Post by boomstick68 on Dec 3, 2013 18:15:11 GMT -6
|
|
|
|
Post by Admin on Dec 4, 2013 11:13:09 GMT -6
Looking good Keep on Trek'in
|
|
|
|
Post by boomstick68 on Dec 12, 2013 6:05:14 GMT -6
|
|
|
|
Post by Admin on Dec 13, 2013 13:43:45 GMT -6
Hey buddy! Please tell me that is tape sticking out of the nacelles, and not the connectors to the main board... 
other then that everything looks great, I hope I'm wrong!
Wally
|
|
|
|
Post by boomstick68 on Dec 14, 2013 12:00:33 GMT -6
Hey buddy! Please tell me that is tape sticking out of the nacelles, and not the connectors to the main board... 
other then that everything looks great, I hope I'm wrong!
Wally Do mean the the connectors coming out of the Nacelle pylons? At that point, they were not pulled out all the way, there is a good 6 or 7 inches of slack to reach the bussards. Is that what you mean? I've made several mistakes already building this so what's one more. LOL |
|
|
|
Post by boomstick68 on Dec 14, 2013 14:33:51 GMT -6
Short video showing lighting. Exterior of the hangar entrance still not finished. Lot's to do there.  |
|
|
|
Post by boomstick68 on Dec 14, 2013 22:24:48 GMT -6
Landing lights taking shape. Still needs a bit of work.  |
|
|
|
Post by boomstick68 on Dec 17, 2013 10:30:41 GMT -6
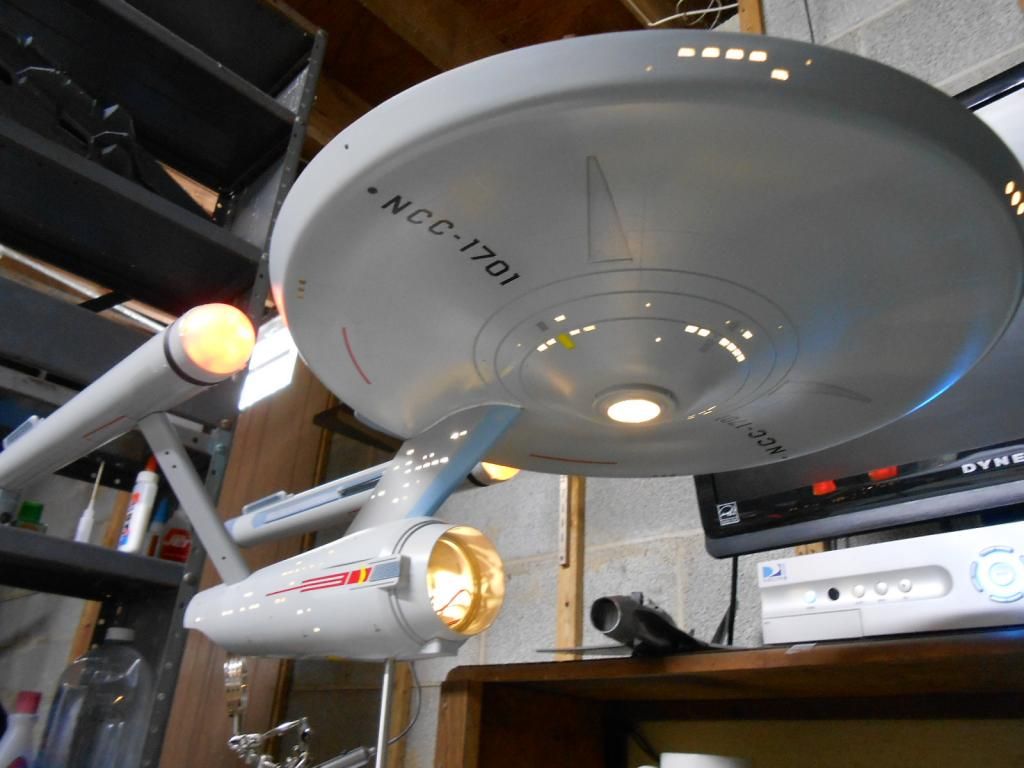
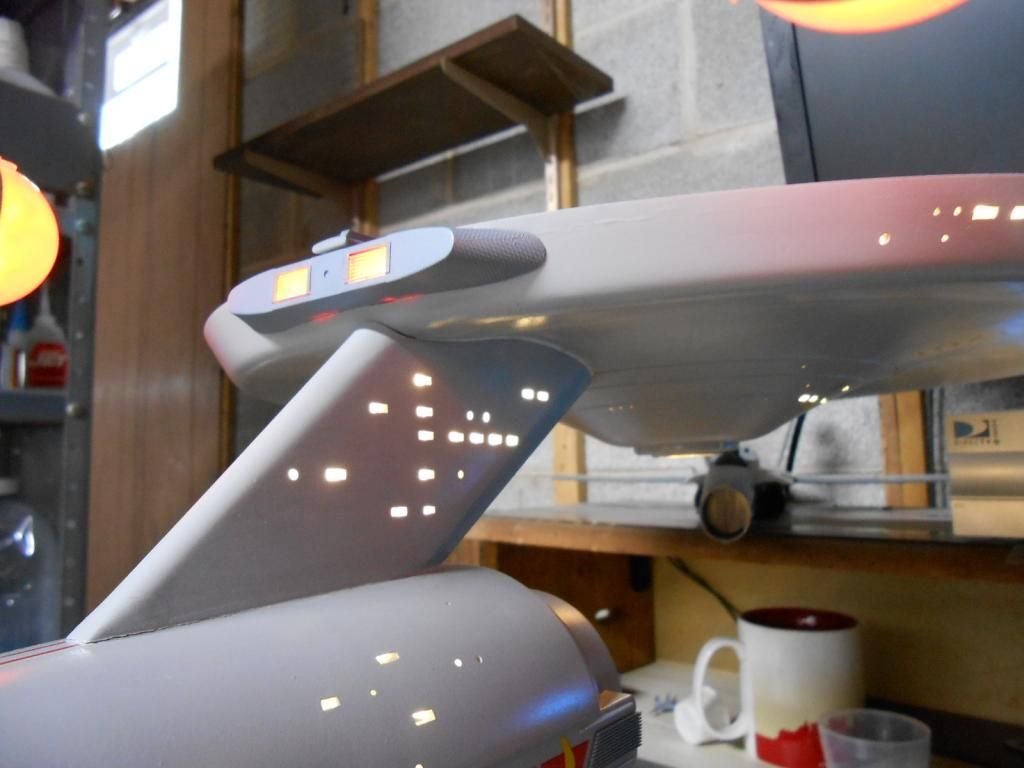
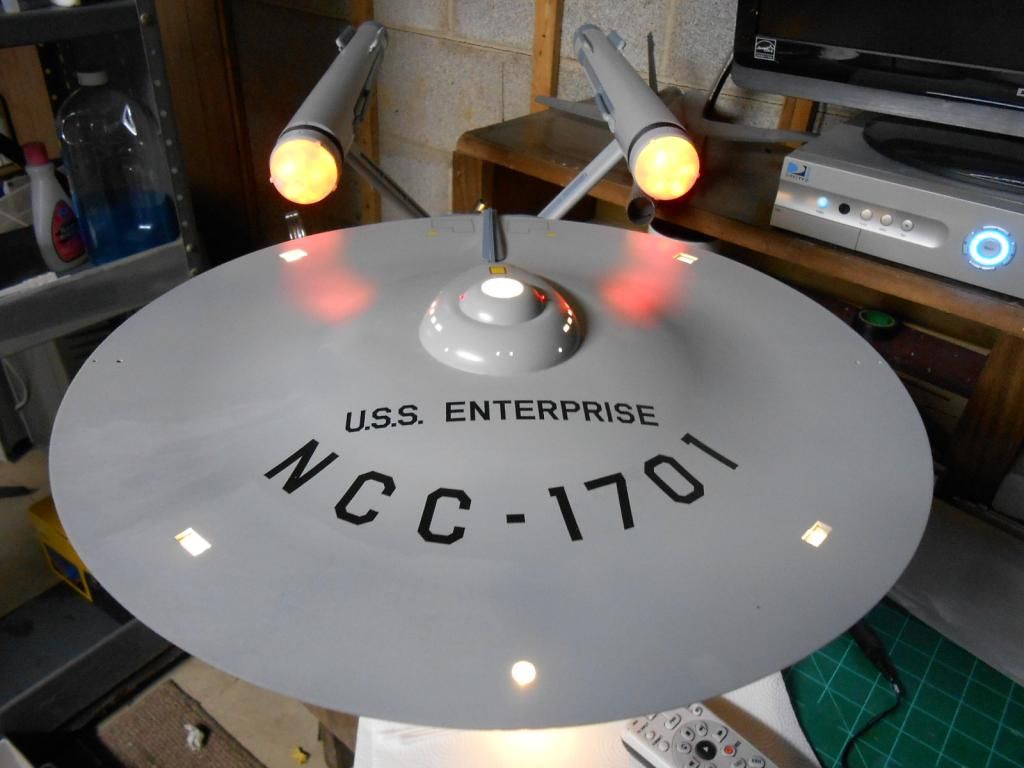
So, I assembled the major components with a couple of setbacks. I have huge gaps that were not there before. Now on final assembly, I have gaps where the saucer and neck mount and where the nacelles and pylons mount. So I have some filling to do. Also, and I don't HOW this happened, the neck glue/putty line cracked on the aft end of the necks base. I generously glued those contact points days ago with plenty of time to cure so I'm confused on why that happend. Oh well. These are all minor and fixable. Still to do: decal warp nacelles, attach clear parts, build shuttle, fill/paint gaps, dull coat and weathering then more dull coat. Oh, and the impulse engines not attached yet, still have light blocking to do. And this is why you take pictures, there is a nasty seam area on the saucer to the right of the impulse engines that needs desperate attention. HOW DID I MISS THAT??? Also, I have panel templates that I use on my military ships that I will be using on this with chalk pastels for weathered looking panels. More to come.    |
|
|
|
Post by Admin on Dec 18, 2013 9:45:51 GMT -6
Holy Shit that looks great nice job ! You got a few touch up spots on it but I would say your 99.9%
their. are you going to use the stand that came with the model?
|
|
|
|
Post by boomstick68 on Dec 18, 2013 14:29:50 GMT -6
Thanks Wally. I do not like the kit stand. I'm open to suggestions.
|
|